Do you want to learn how to draw a book? If your answer is yes. Then it’s the right place for you. Here you can easily learn a book drawing within a few steps. Through this article, I am sharing my book drawing experience with you.
In this step-by-step book drawing tutorial, I will show you how to draw an open book and a closed book.
It is a very helpful article for new artists. I think you want to improve your vision drawing skills. Books drawing is a great decision to improved your perspective drawing skills. my book drawing article will help you a lot in the future
Collected All Required drawing Tools or Materials :
We know all drawings required some basic tools and materials. Below is a list that I have used in this drawing. please collected all of those for your perfect book drawing.
How To Draw a closed Book
In this section, I am showing a closed book drawing tutorial, and in the next section, I am showing step by step open book tutorials.
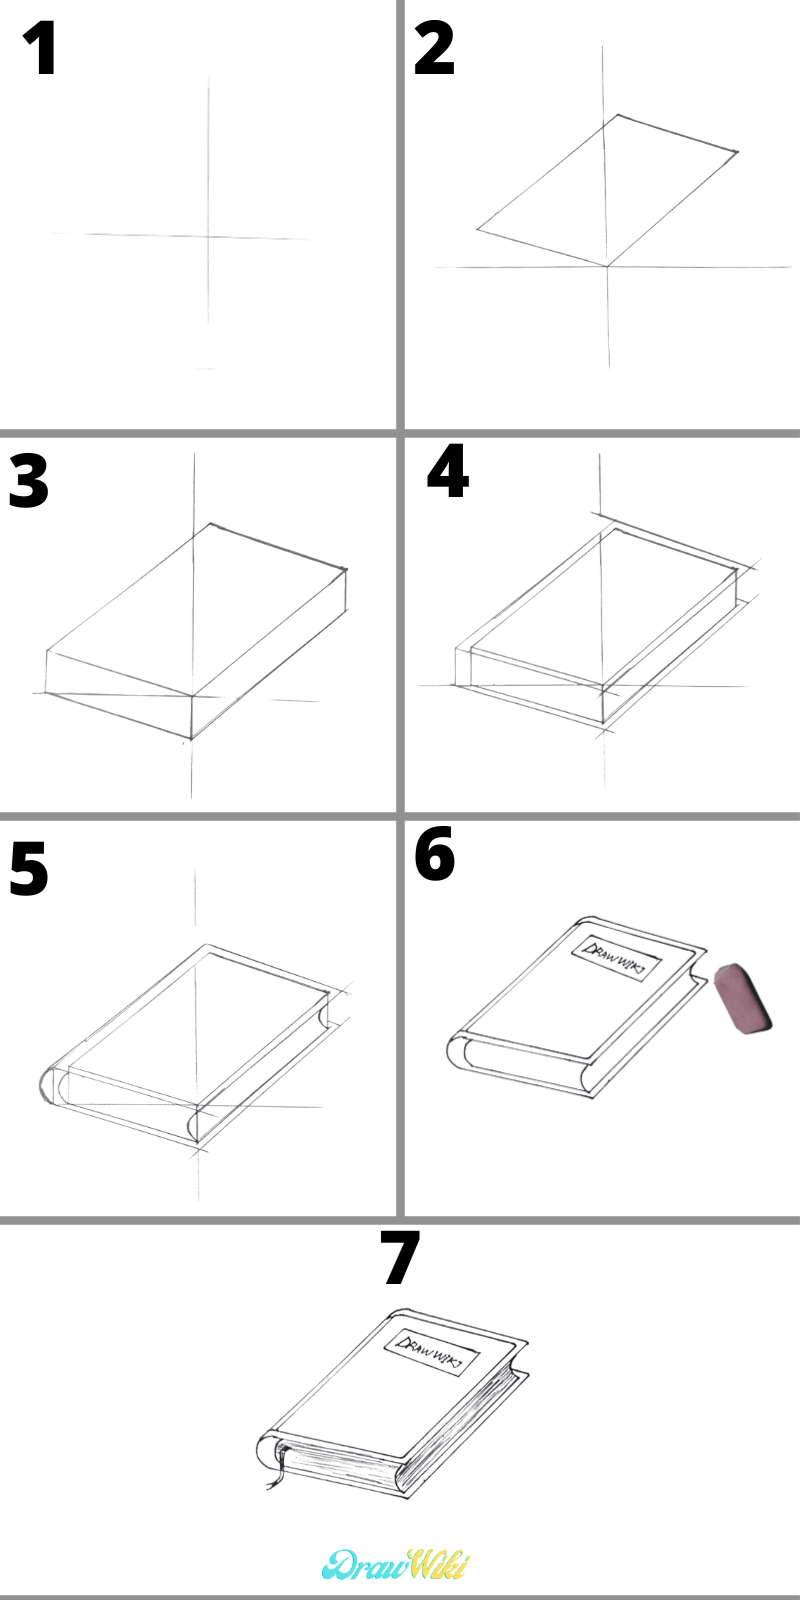
#Step 1:
In this step, we draw baselines for books with the help of a 2b or HB pencil. I am using drawing this line with the help of doms neon HB/2 pencil. My recommendation uses an apsara 2B pencil or you can use a mechanical pencil. The main thing is always to use a soft pencil for base drawing. make sure your all pencil line draws lightly because we removed this line in later. I show an image in below of how to draw a baseline.
Draw a horizontal line with help of a scale. Then draw a 90-degree vertical line on the middle point horizontal line. These two-line divided into four quadrants and you number all quadrants similar to my picture.
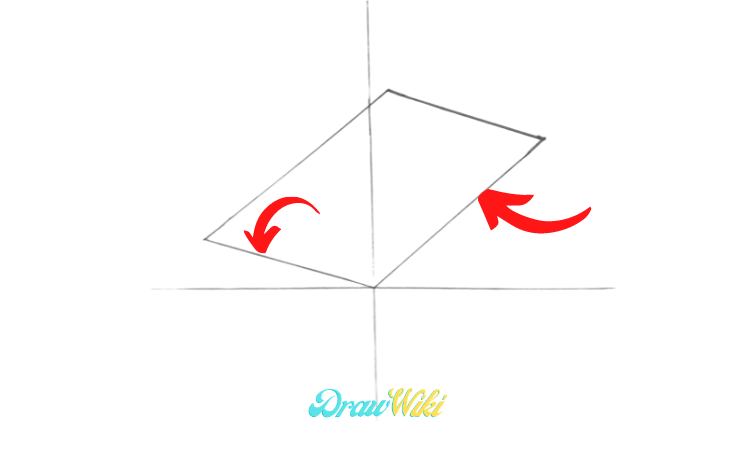
#Step 2:
In these steps,, we draw the book’s basic structure. In the first quadrant draw a line to middle point vertical and horizontals lines. This line draws approximately 30 or 40 degree to the horizontal line. This line-length depending on book width.
Draw 60 or 70 degree angel line in the second quadrant. This 60 or 70 degree line length draw as you want you your book length.
We completed all two bases for book drawing. Then time to draw the first line parallel line and another line drawn to the second line.
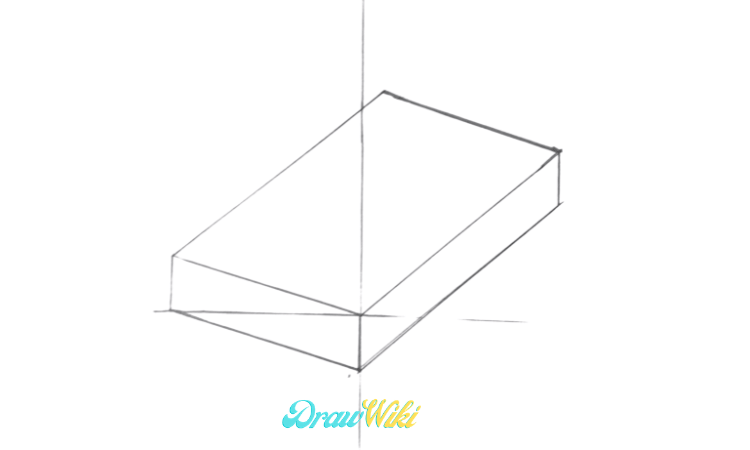
#Step 3:
Now draw three same lengths downward vertical line. You can see I am showing this by the red arrow. Then joint three points by a straight line. We completed the book basic structure.
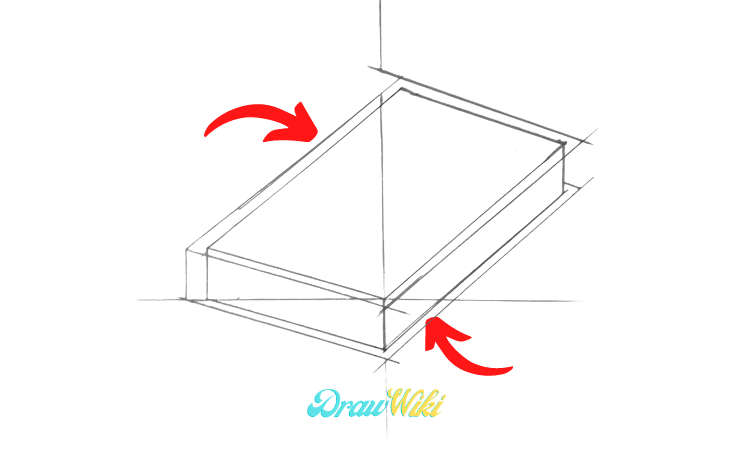
#Step 4:
In these steps, we draw out sideline for this book following the baseline. This line mainly books cover lines. You draw all this line similar to my image.
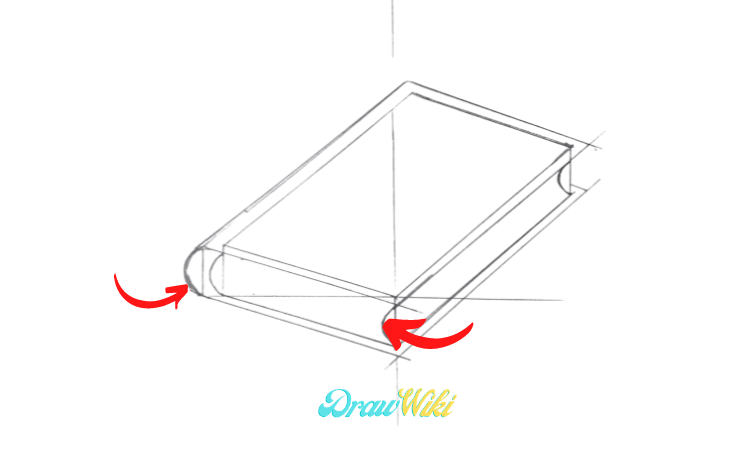
#Step 5:
Now draw the curve line I am showing by the red arrow line.
In this step draw all line by the marker pen. Then we removed all line by the eraser.
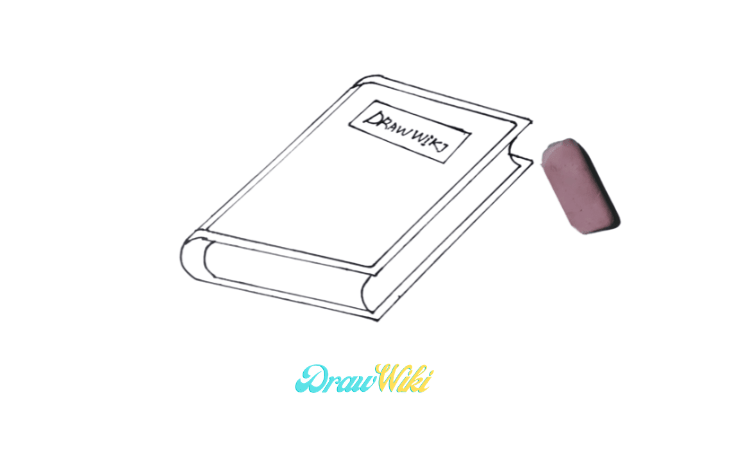
#Step 6:
This step needs some detailing work. Just draw some line and sketch and draw a ribbon for the page indicator. Guy, we learn a closed book drawing with 7 steps. in the next part, we learn open book drawing.
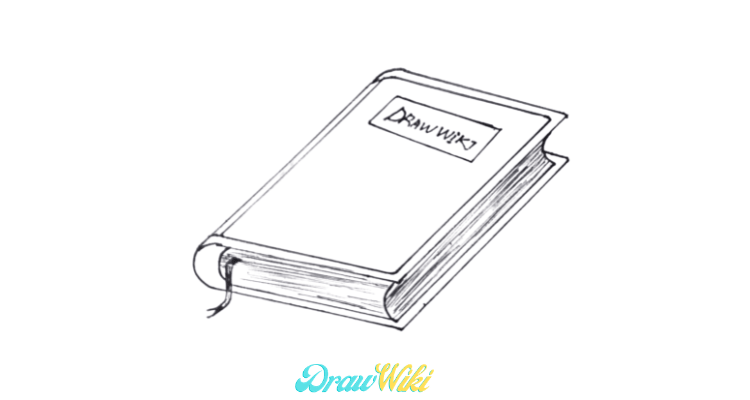
Quick Recap Closed Book Drawing
You Love our artical you can read this : how to draw collor
and you can read this post : How to draw key
How To Draw an Open Book
In this section, we showing you how you can draw an open book as easily as possible. I am made these tutorials focused on new and beginner artists. Even a new artist easily learn open book drawing with the help of these tutorials.
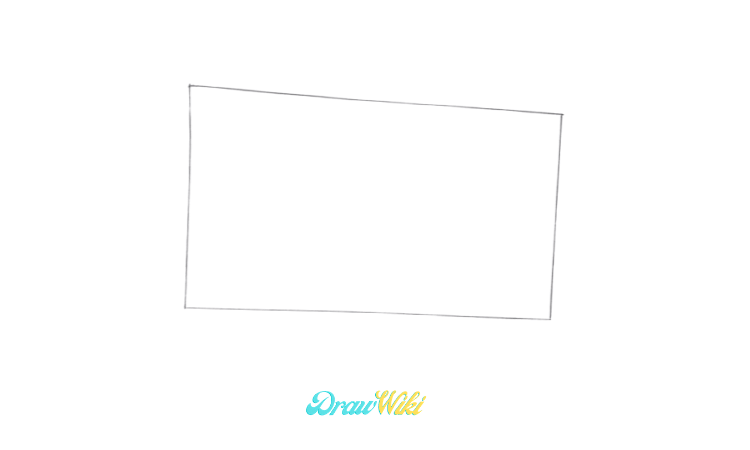
#Step 1:
First we need a draw a rectangle. Then divided this rectangle into two equal parts.
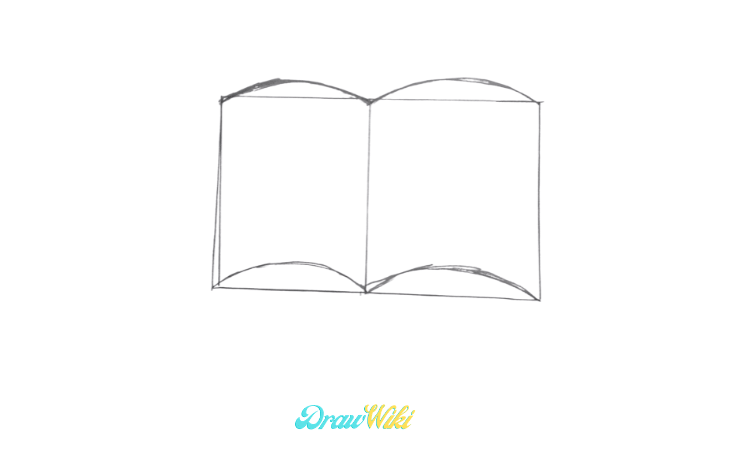
#Step 2:
In this part, we draw four curve lines. Draw two curved lines on the upper side and two on the lower side.
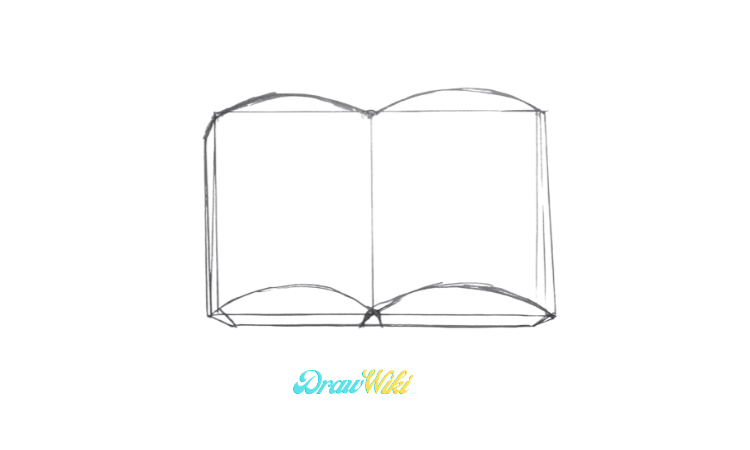
#Step 3:
Now we draw all other lines. Like two sides and the middle line. I completed all the necessary lines in these steps.
#Step 4:
In this step, we draw all the details. draw all outline by marker pen. Removed all lines by the eraser. now we have a book outline. Then we can finish all the other sketches.

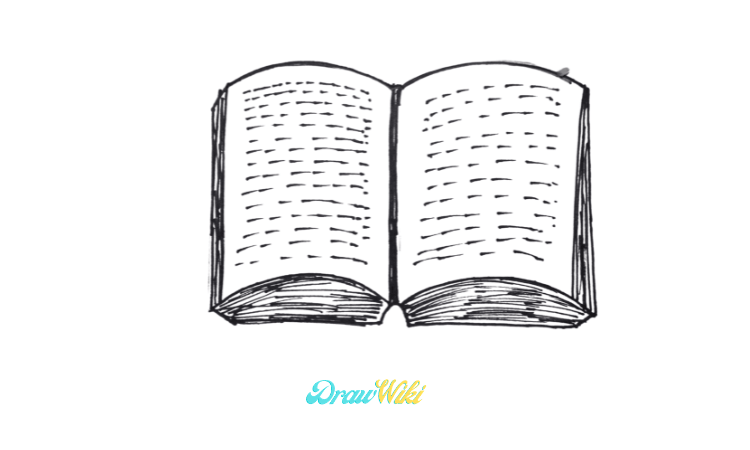
#Step 5:
In this step, we completed all the necessary sketches and we finished our drawing.
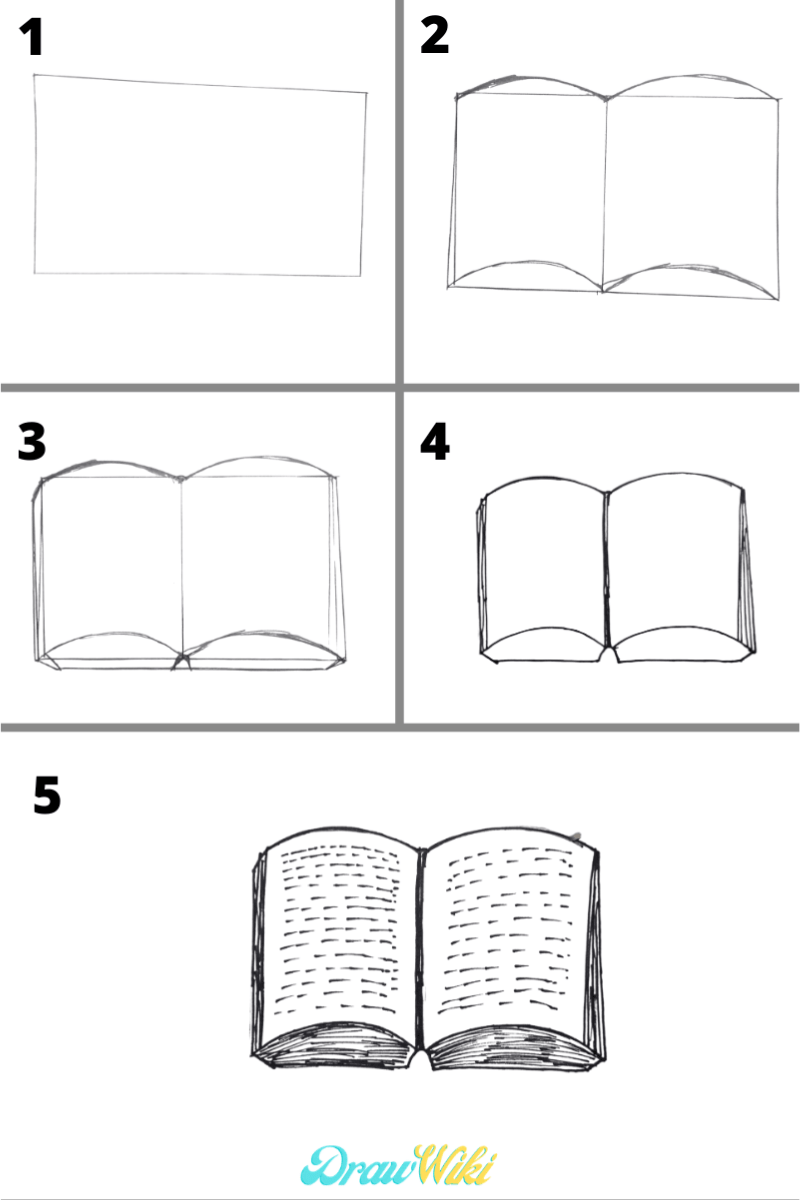
Quick Recap Of Open Book Drawing
Tip better book drawing
You want to improve your drawing skills than the first choosing a good paper and good quality pencil. Use a good quality rubber which helps you lots. Star all drawing lightly and try to better line.
Conclusion :
Hello, all my artists you learn two different types of book drawings. I hope it helps you lots. You love our content then you can share it with your friends and family. You can comment on us any mistakes for our end or your comment on which drawing tutorials you want to learn in next time.