You want to learn on how to draw a baby bottle step by step. Then you are in right place. In this tutorials I am showing step by step baby bottle drawing guides for you.
Have many different types of baby bottles. We draw one of them. I made this tutorial as easy as possible. But you can learn simple bottle drawing.
Now go to collect your drawing materials or you can use my list. It’s very simple to list because everyone can arrange all tools very easily.
- Paper or sketchbook
- 2B or HB Pencil
- Eraser
- pencil sharpener
Step by Step Baby Bottle Drawing Guides

Before we start drawing, let me tell you to draw all the lines very lightly. Because of some lines, We have to erase them later. To show you better, I’m drawing the lines a little darker
So start your drawing 2B pencil. Use a good quality eraser and paper or sketchbook.
Step 1:
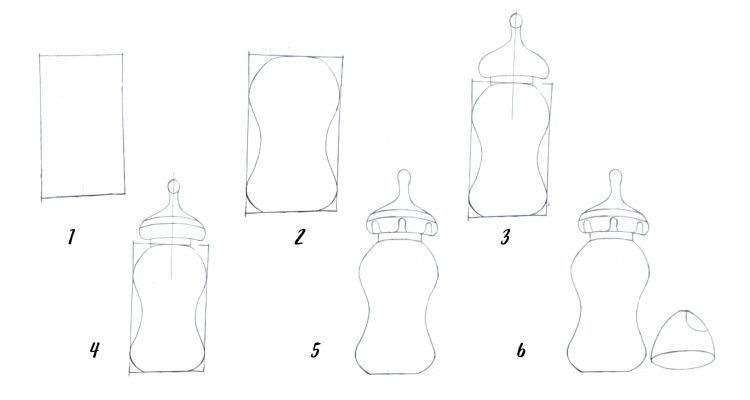
Draw a vertical rectangle with the help of a 2B pencil.

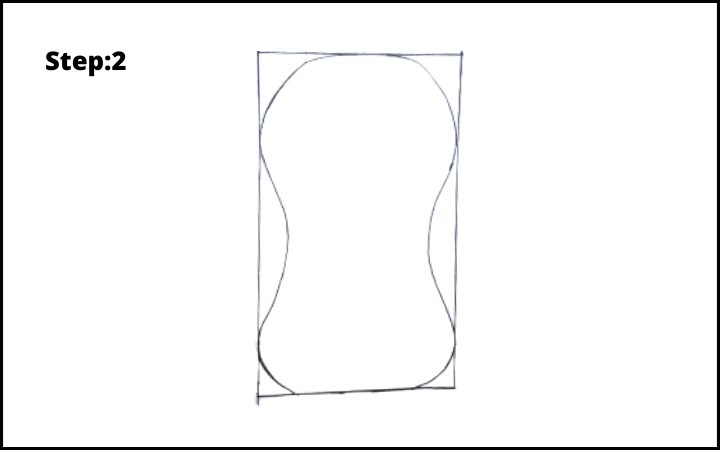
Step 2:
Draw shapes in the rectangle for the baby bottle body.

Step 3:
Now we draw the head of the baby bottle drawing. First, draw a vertical line middle of the rectangle. Then we draw the shape of the head.

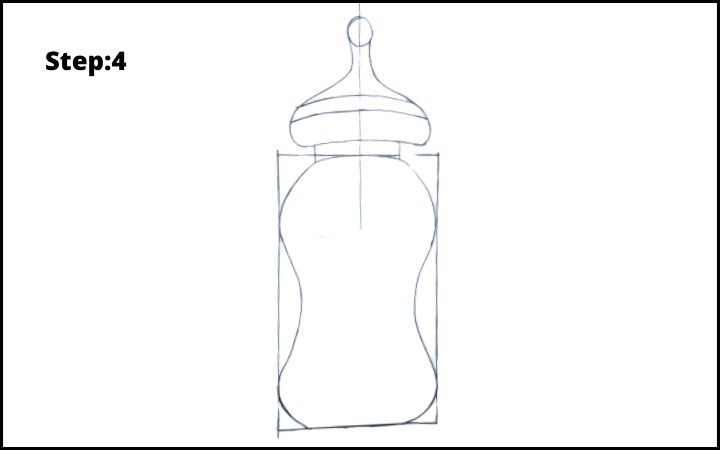
Step 4:
Draw two lines in the head.

Step 5:
Now we draw the rest shape on the head.

Step 6:
Now erase the rectangle line and draw the cap of the baby bottle.
