To draw something in a good and accurate way. It is very important to know all the information about that object.
Because if you draw something without understanding it well. There is a possibility of making a mistake. So how to draw an arrow. Before we know it, need to know about the arrow.
Let’s learn about arrow history, type, and different parts of the arrow. Knowing the different parts of the arrow gives us an idea of how to draw an arrow.
It is one of the best weapons of human creation. Long ago people used it for hunting and self-defense. In the Middle Ages, it was used in war. But now arrows and bows are used in the game.
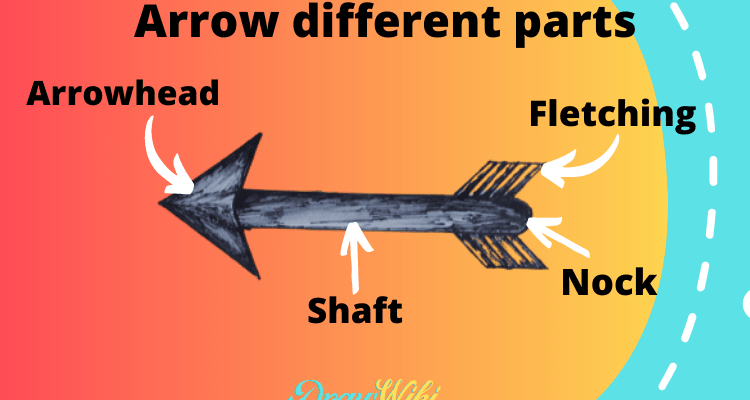
The arrow has consisted of three parts. An arrow made by arrowhead, shaft, fletching, and nock. I gave a picture below showing all the parts of an arrow. I think it will be very helpful for you.
Everyone in this post I am showing two types of arrow drawings. One is a real arrow another is a pointing arrow. In real arrow, I am showing how you can draw two types of arrowheads.
After reading this article you will have no questions about how to draw arrows. I promise if you are a new student you will be able to draw arrows after reading this article. So it’s the right place to learn arrow drawing.
Before starting, I think you know we need some drawing tools. I gave a list below which drawing materials I am using During this arrows drawing.
- Pencil
- Eraser
- pencil sharpener
- scale
- white paper
What do you think about this list? You can use your favorite drawing materials. Please share with us which material you are using. So everybody let draw an arrow.
Step by Step an Arrow drawing Instruction
Hello everybody here we share three different types of arrowheads. I say I am showing two types of arrowheads. But now I decided to share three. Arrow drawing base on the straight line. So my using to all straight line by the scale.
My suggestion always first drawing very lightly. Because some lines can be erased in the latter. You can use 2B or HB pencil in any brand. 2B and HB pencil is a very light and soft pencil. I am always using 2B pencil for my baseline drawing.
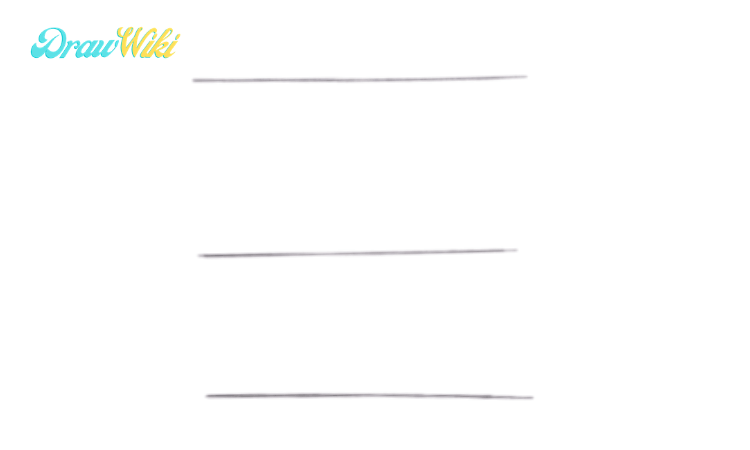
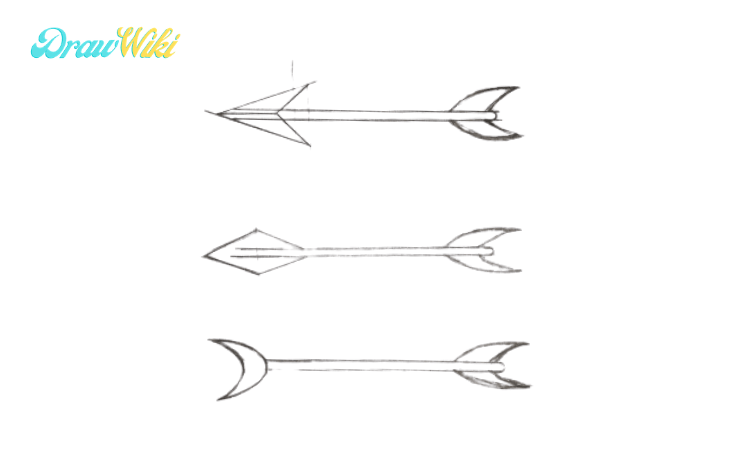
Step 1:
In this step we draw three horizontal straight lines with help of a scale. This three straight lines for our three arrow. And this three-line maintained some distance.
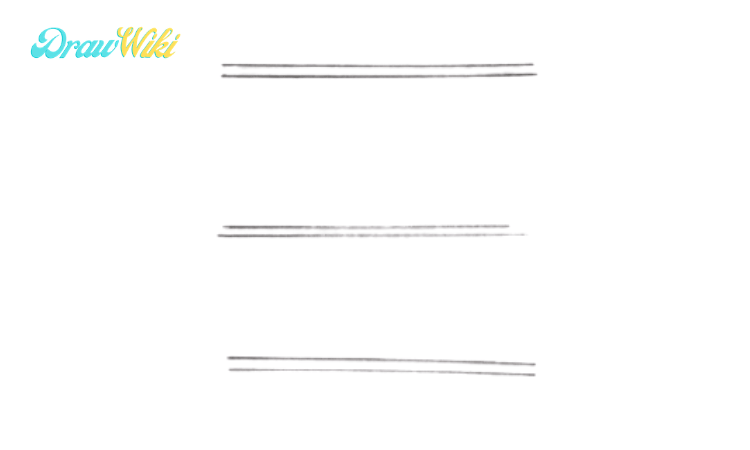
Step 2:
This step we just draw another three straight lines parallel to the first three lines. You can see my drawing in the below. Now we just make the arrow shaft.
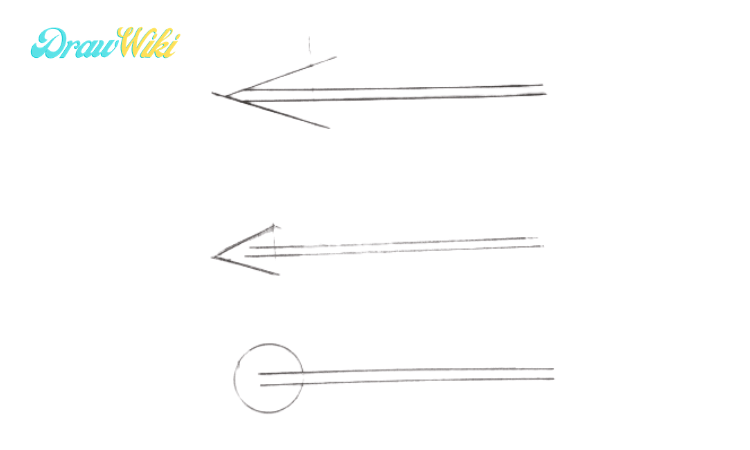
Step 3:
Now in this step, we start drawing an arrowhead. Our three arrowheads are different. So we draw a different way of the arrowhead. The first and second arrow drawing first steps is similar.
For the 1st and 2nd, we need to draw two angle straight lines that coincide with the arrow shaft axis. For the 3rd arrow, we need to draw a circle on the endpoint of the arrow shaft.
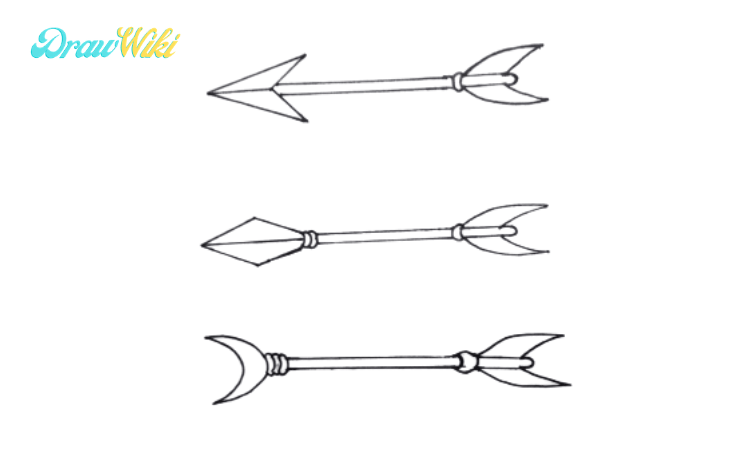
Step 4:
In step 4 now we completed our arrowhead. For the first arrow, we draw two straight angle line to the inside arrowhead till to the arrow shaft axis.
Second type arrowhead two angle straight line to the arrow shaft. 3rd arrowhead is similar to the half-moon. You just follow my drawing below. Try too similar to me.

Step 5:
In this step, I am showing how you can draw arrow fletching. My all arrow fletching is similar. Draw two curved lines. One on the upper side and another on the lower side. These two curve lines toward the arrow nock.
Then another two curve line toward the arrowhead. This curve line starts the endpoint of the first curve line to the shaft line. You are not understanding how you can this line. You are just to see my image and try to copy it.
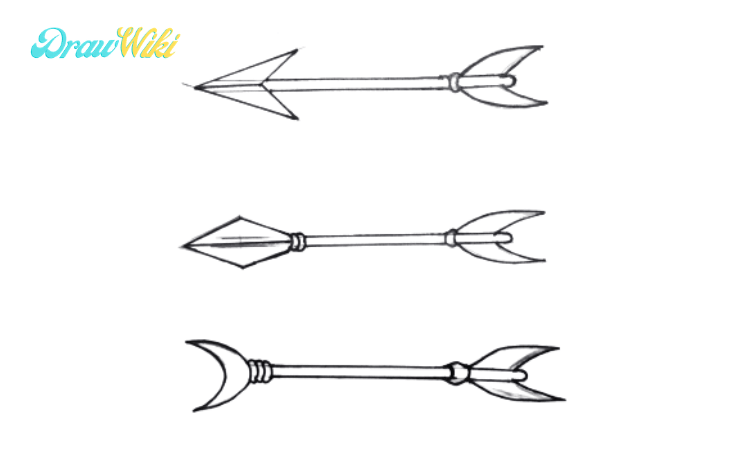
Step 6:
Now we just draw some small other part. You just follow my drawing in below.

Step 7:
In this step we draw an arrow all outline by marker pen.
Now we removed all pencil line by the help of eraser.
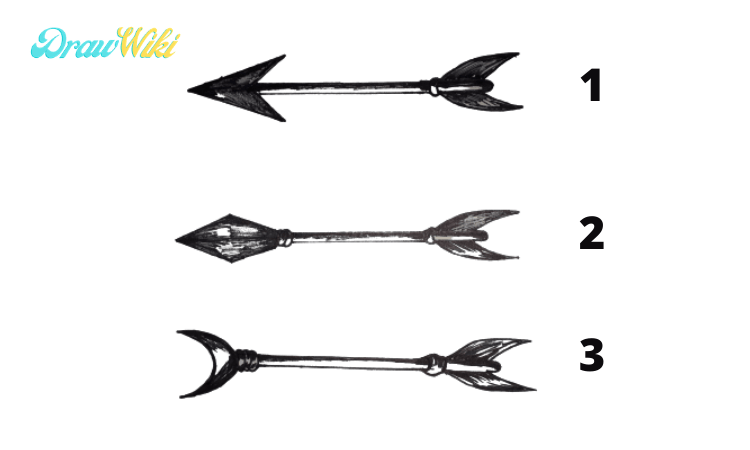
Step 8:
It is the last step of the arrow draw. In this step, we just do some sketch and shade lines. I am using to draw these shade lines by marker pen. You can use different types of pencils.
Step by Step a pointing Arrow drawing Instruction
Hey, all of you in this part I show how you can draw a pointing arrow. I made step by step instruction as easy as possible. In this drawing, I am showing a computer pointing arrow. So let’s draw.
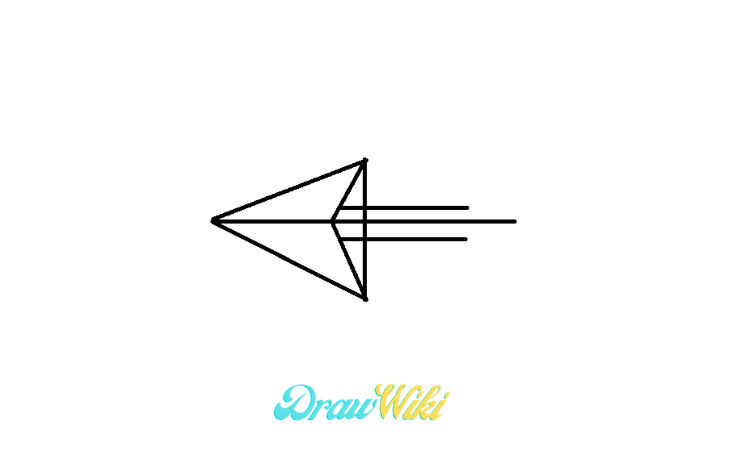
Step 1:
Draw a horizontal straight line.
Step 2:
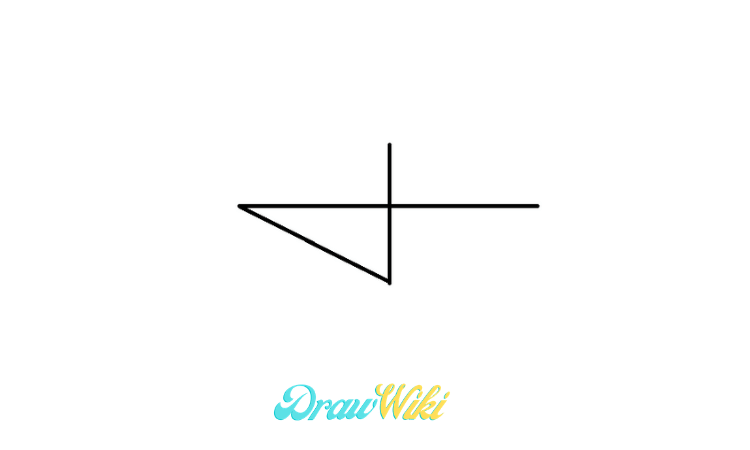
In this step draw a vertical straight line on the horizontal straight line.
Step 3:
Joint start line of the horizontals straight to vertical straight line by another straight line.
Step 4:
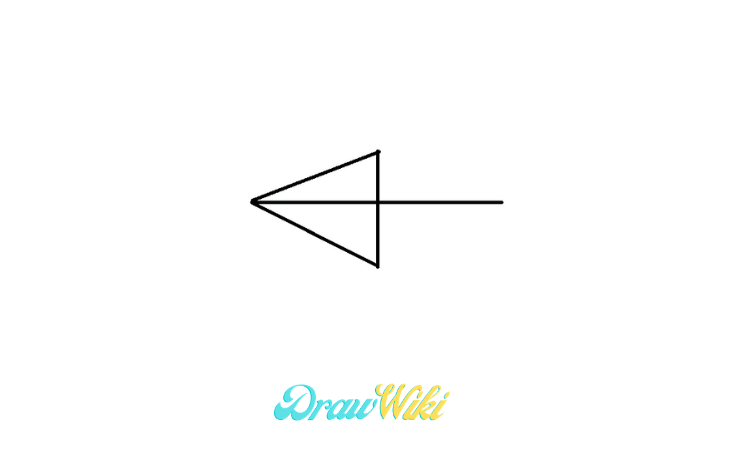
Draw angle straight line similar to my image
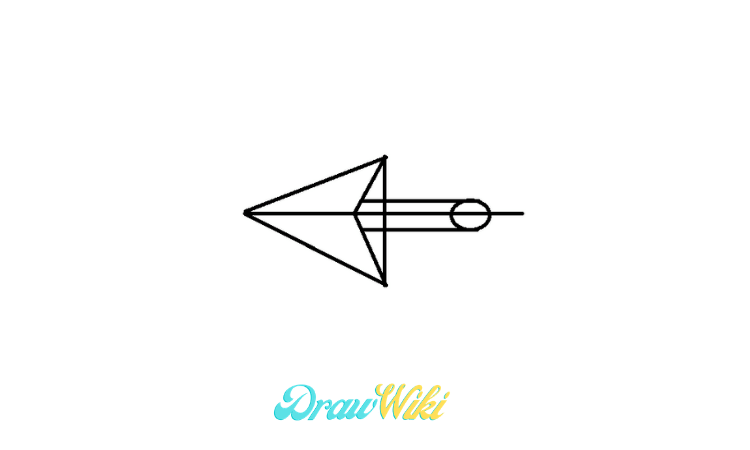
Step 5:
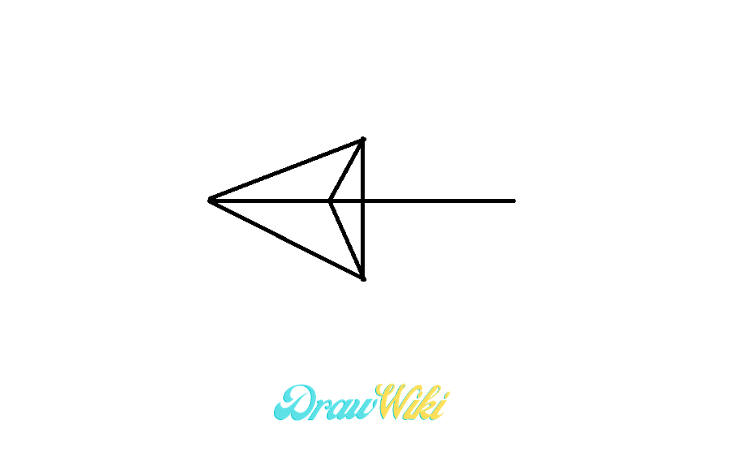
In this step another two horizontal straight lines. One is the upper side another is the lower side first horizontal straight line.
Step 6:
Draw a circle end of the arrow shaft.
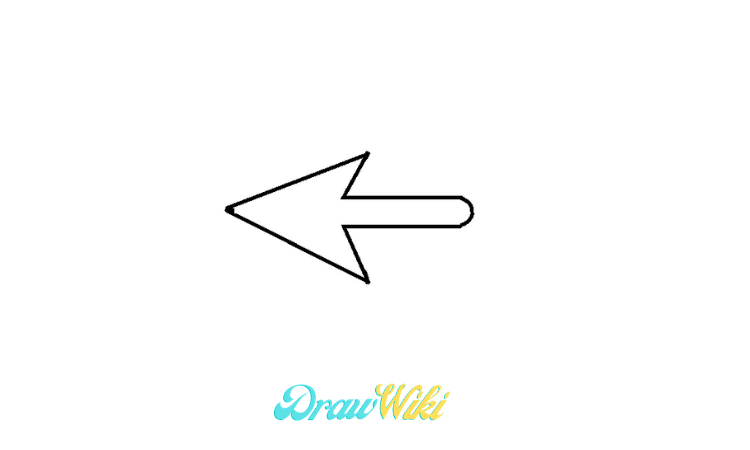
Step 7:
Removed all unnecessary line by the eraser.
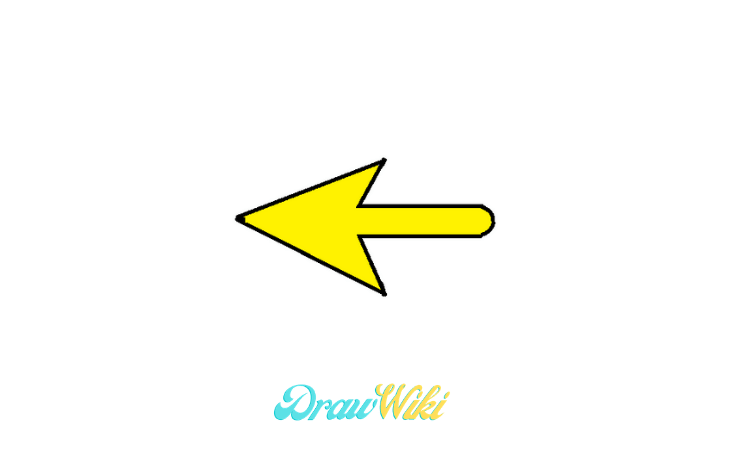
Step 8:
Chase your favorite color and apply it. I am using yellow color. You can any color.
You can learn our other awesome drawing tutorials :
- How To Draw an Ant 7+ Easy Step by Step Tutorial
- The Best Easy 10 Steps To How to draw collars For Beginners
- 16 Easy Steps How To Draw a Key for the Fresh Artist
- How To Draw a Book Step By Step Easy Guides
Conclusion:
Do you like these tutorials? And if we make a mistake, please let us know in the comment box. If you find this tutorial helpful, be sure to share it with your friends and family. Thank you for reading this article.